Standard Shaders (PBR)
Glass Shader
Options relevant to the orels1/Standard Glass shader
A very specific interpretation of what a glass shader could look like. Absolutely not physically based in any way, but provides a convincing enough effect in a lot of cases
Has two general modes: Clear and Blurred. The latter uses reflection probe trickery to emulate a blurry transparent glass effect
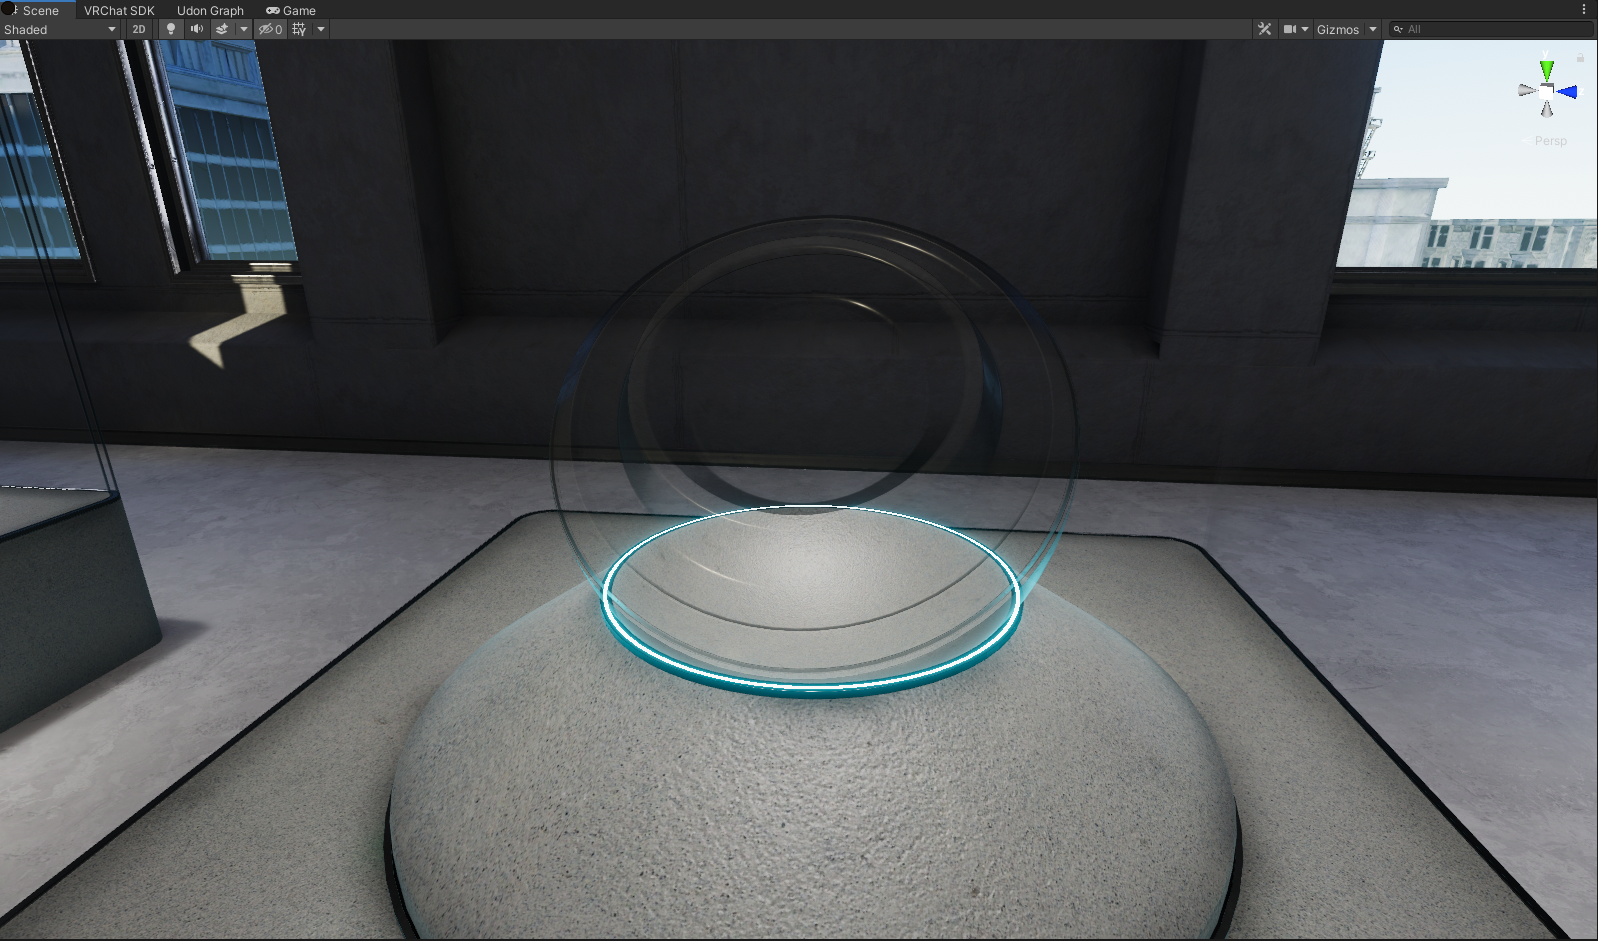 Glass Preview
 Glass Inspector
Settings
Glass Demo
Alpha Source
The main transparency of the material is controlled by the Alpha value of the Main Color property
- Shadow Tint: Controls the color of the rim shadowing effect
- Rim Power: Controls the expansion of the rim shadow effect
- Rim Strength: Controls the overall effect of the applied rim shadow
- Rim Smoothing: Controls the gradient of the rim shadow transition
- Rim Alpha Mod: Only relevant when the Main Color is semi-transparent. Makes the glass less transparent in the rim shadowed areas to exaggerate the effect
- Blurry Glass Mode: Enables the blurry glass effect, read more about it and the relevant options below
- Blur Level: Only visible when the Blurry Glass Mode is enabled. Controls the global amount of blur applied to the reflection probe
- Blur Mask: Only visible when the Blurry Glass Mode is enabled. Controls the amount of blur using a mask texture. Is multiplied by the Blur Level
Blurred Glass
Blurred Glass Demo
Credit where credit is due
This effect is heavily inspired by Fake Glass shader created by Silent. It is very much simplified compared to their implementation to provide more of a single slider experience
Since blurred glass effect without any real blur is about trickery more than anything - it requires a bit of setup. Here is what you need to do:
- Set your Main Color to be fully opaque
- Check Blurry Glass Mode checkbox in your material
- Set the Blur Level to something like 0.15
- Set Depth Write to On in the Advanced Features section
- Put the material on some mesh, like a plane or a sphere
- Create a reflection probe in the middle of the mesh. Right click -> Light -> Reflection Probe on the mesh object is the fastest way
- Set the reflection probe importance to 0, enable Box Projection and set the bounds to roughly match the room around the object
- Bake the reflection probe
- Select the mesh you made and drag the Reflection probe you just baked into the Anchor Override Slot
- You should now be able to observe the effect
Now you can use the Blur Level slider to dial in the effect to your desired intensity
And here's a video example of this process performed in the demo world
Blurred Glass Setup