Standard Shaders (PBR)
Base Shader
This functionality is common to almost all of the ORL Standard-based shaders
All of the standard shaders have names beginning with Standard, from pure Standard to Standard Triplanar Effects and others
This page describes all of the properties that are shared between almost all of the Standard-family shaders, while other pages in this group describe settings specific to each one of the special variants
Shader Overview
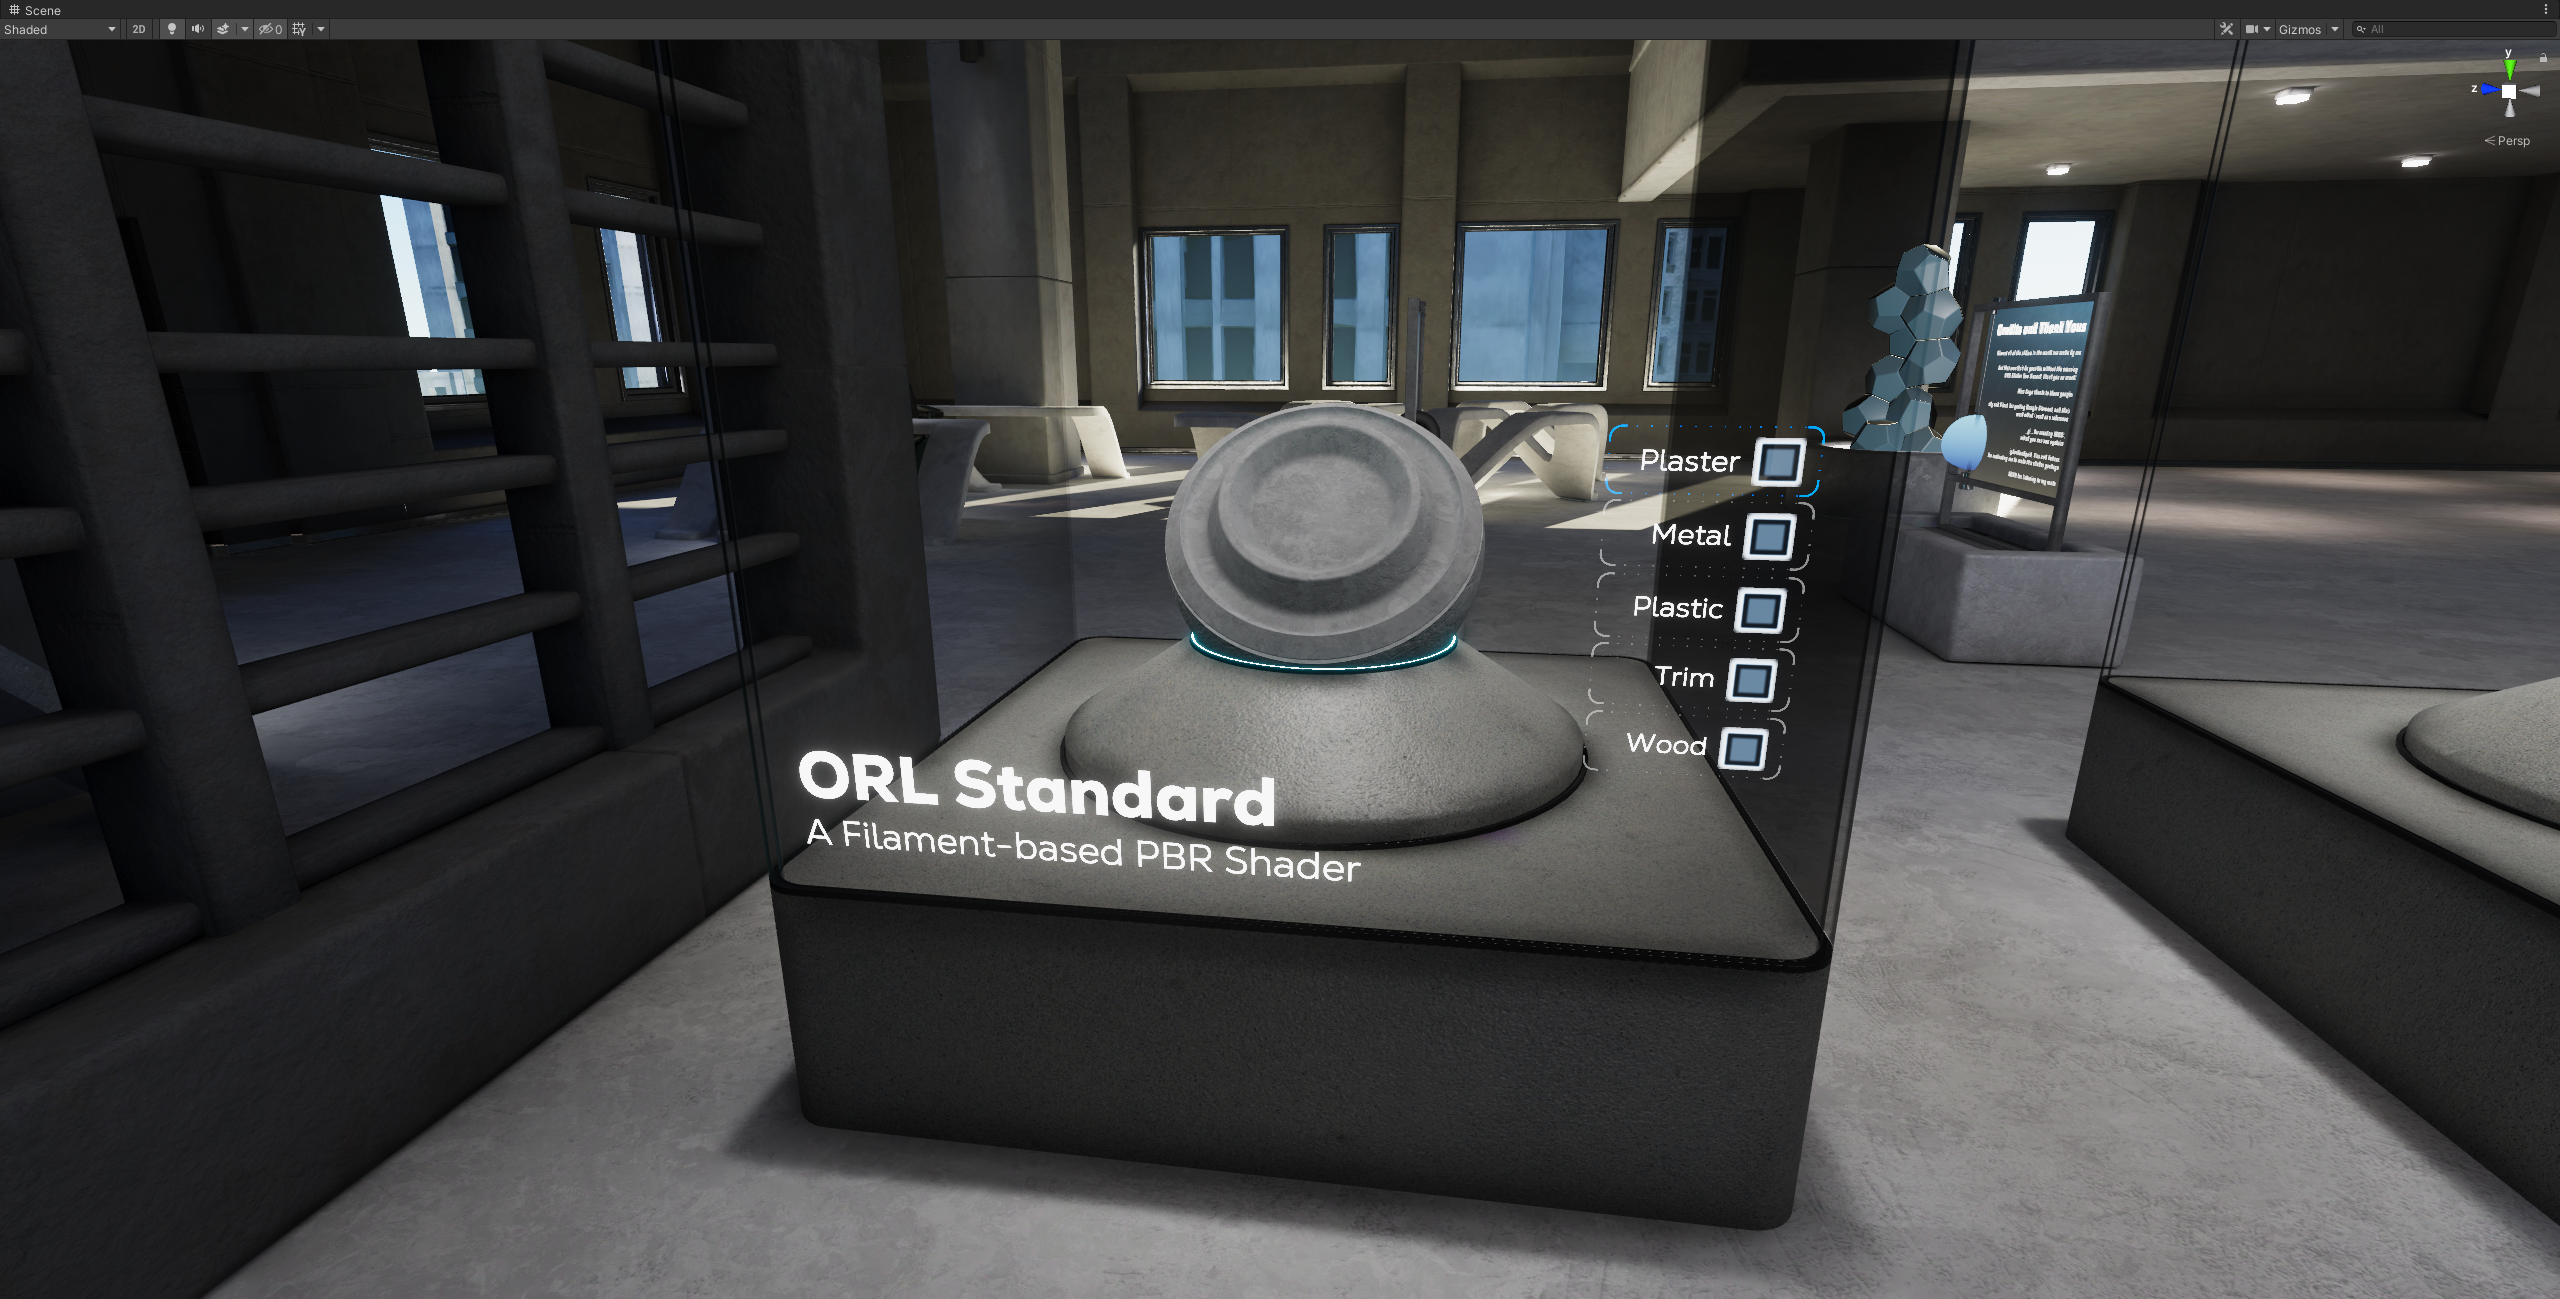
The UI is broken down into multiple sections some of which you can probably collapse since you will likely not be touching them too often, e.g., "Advanced Features" and "Internal".
We will now go through every section, explaining the features it provides.
Optional Settings
Note that not all of the settings are always visible, some options will show and hide based on the textures/toggles you select
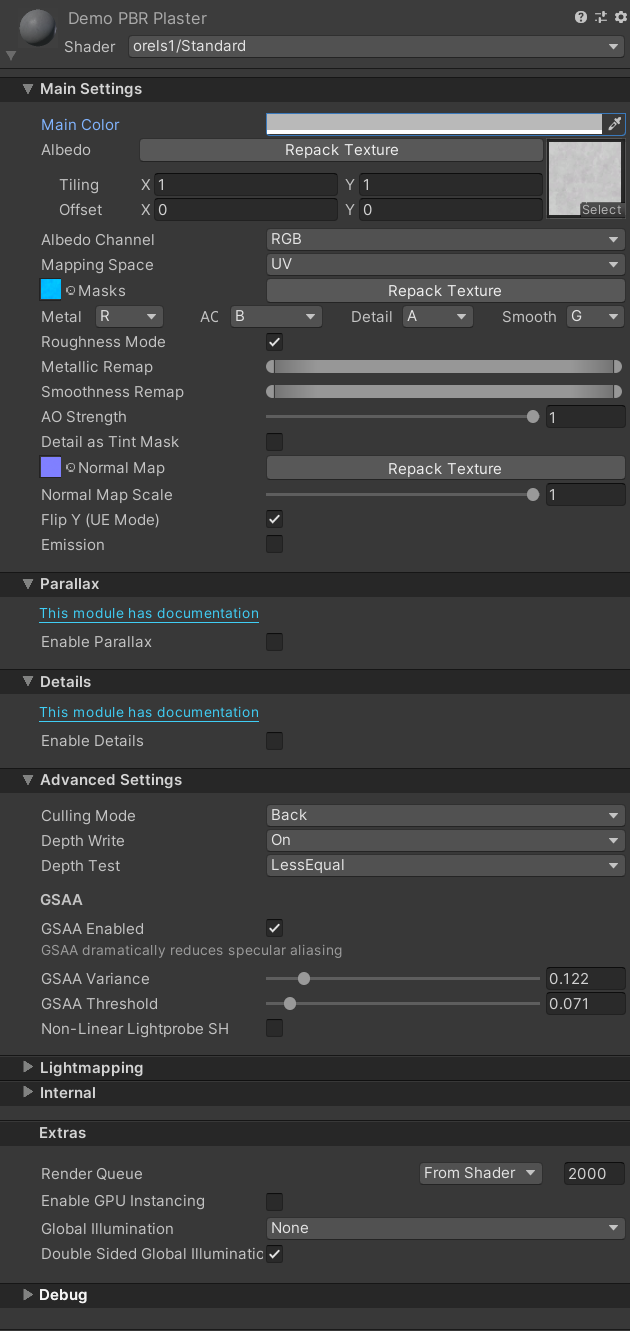
Main Settings
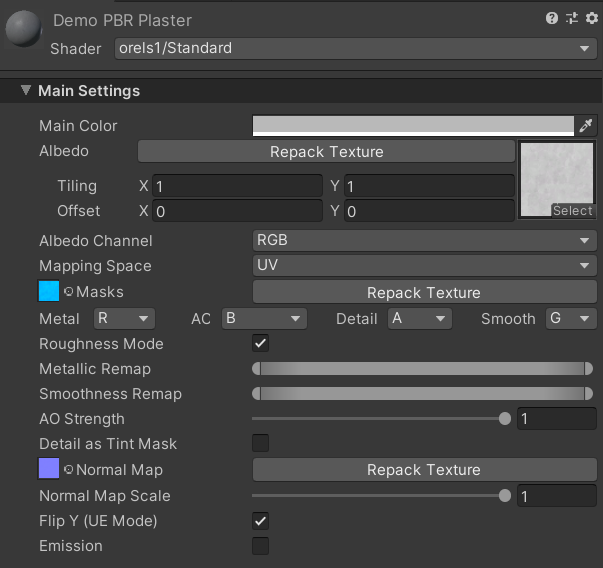
- Main Color: Main tint color
- Albedo: The Main Texture, its tiling and offset will be used by all the textures in the material, unless the texture slot provides its own tiling/offset parameters
- Mapping Space: Allows you to select between UV-mapped and Local Space/World Space aligned textures, which is useful for flat surfaces like Floors or Ceilings
- UV: Uses the first UV channel to display the texture
- Local Space: uses local coordinates on the provided X and Y axis to display the texture
- World Space: uses world coordinates on the provided X and Y axis to display the texture (useful for maintaining constant scale among many meshes)
- X Axis and Y Axis: Only visible when Mapping Space is not in UV mode. Allows to select which axis (X/Y/Z) to use for displaying the textures
- Masks: Texture containing Metallic/Smoothness and AO maps. By default uses this channel setup:
- Red: Metallic
- Green: AO
- Blue: Detail mask
- Alpha: Smoothness
- Metal/AO/Detail/Smooth selectors: Only visible when Masks texture is plugged in (see screenshots above). Allows you to select which channel to use for which map. E.g., you can remap to an unreal-style RMAO setup using these options
- Roughness Mode: Only visible when Masks texture is plugged in. Flips the Smooth channel to accommodate for roughness maps, useful for Unreal Engine assets
- Smoothness: Controls global smoothness level, uses this value across the whole material. Only visible when there is no Masks texture provided
- Smoothness Remap: Allows you to adjust the range of smoothness values of the provided Smoothness map. Very useful for reusing existing textures for a wide variety of effects
- Metallic: Controls global metalness level, uses this value across the whole material. Only visible when there is no Masks texture provided
- Metallic Remap: Allows you to adjust the range of metalness values of the provided Metal map. Similar in application to the Smoothness Remap
- AO Strength: Only visible when Masks texture is plugged in. Controls the strength of the provided Ambient Occlusion map
- Detail as Tint Mask: Only visible when Masks texture is plugged in. Utilizes the provided Detail texture to mask portions of the Albedo which will be tinted by the Main Color
- Normal Map: The Normal texture with the normal strength slider
- Flip Y (UE Mode): Only visible when Normal Map texture is plugged in. Flips the green channel of the normal map for DirectX-style normal maps, which are commonly found in something like Unreal Engine assets.
- Emission: Specifies that the object emits light
- Emission Map: The emission texture with the Emission Tint, you can leave the texture blank and just adjust the tint if you want the object to emit one solid color
Parallax
Parallax Cost
ORL Standard uses a parallax technique called Parallax Occlusion Mapping, which is a fairly expensive effect, and you generally only want it on materials that require parallax to look good, an example below is one such material
Parallax Material Example
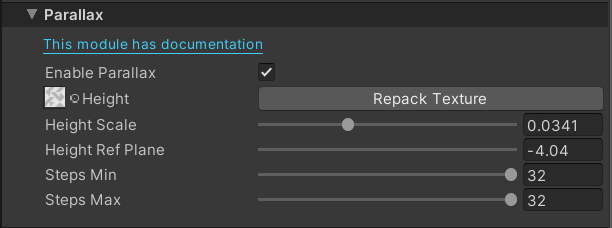
Most parallax options are hidden until Enable Parallax is checked
- Enable Parallax: Toggles the special Parallax variant of the shader
- Height: The parallax heigh texture, MUST be set to linear ("sRGB" unchecked on the texture importer). The slider allows you to control the strength of the extrusion
- Height Ref Plane: Moves the reference plane of the texture up and down, will change the perceived distance of the effect from the surface (see video below below)
- Steps Min / Steps Max: Controls the quality of the effect. Default settings will probably be fine, unless you're using very high height intensity value, which will expose the "layering" of the effect.
Height Ref Plane adjustment
Details
Details section allows adding extra variety to the surface with its own set of mapping settings. There are two modes available for the source textures, which are described below. The effect is filtered by the Detail channel of the Masks Map from the Main Settings, which is Blue by default.
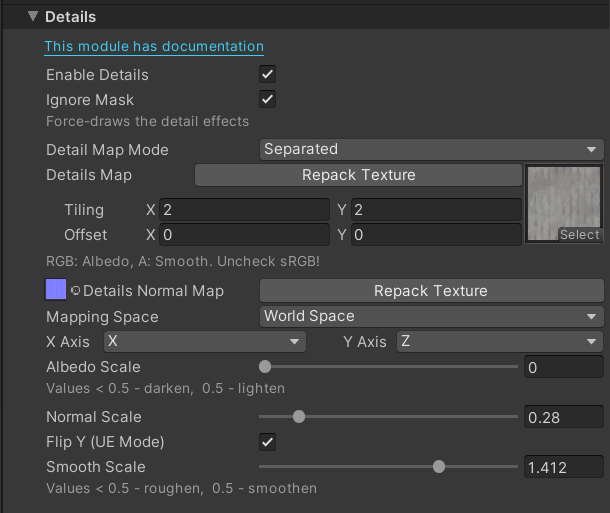
Packed Mode inspector vs Separated Mode inspector
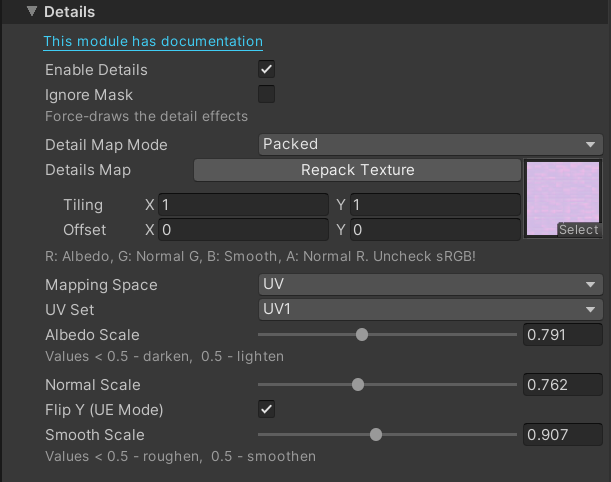
- Enable Details: Enables the effect
- Ignore Mask: Ignores the detail mask, which is usually taken from the Blue channel of the Masks Map texture from the Main Settings. This is useful if you are not using any masks texture at all
- Detail Map Mode: Controls how the details map is set up, which also changes its behaviour a bit
- Packed: This mimics HDRP detail map. You can read more about it here. This means you can use this mode with any HDRP assets out of the box. TL;DR: Albedo is packed into the Red channel, Smoothness into Blue, Normal into Green and Alpha
- Separated: A more classic mode, similar to the BIRP. Has separated slots for Detail Normals and Albedo + Smoothness, where Smoothness is packed into the Alpha channel of the Details Map.
- Details Map: The main details texture
- Details Normal Map: Only visible when Detail Map Mode is set to Separated. Allows specifying a bespoke normal map for detail
- Mapping Space: Allows you to select between UV-mapped and Local Space/World Space aligned textures, which is useful for flat surfaces like Floors or Ceilings
- UV: Uses the first UV channel to display the texture
- Local Space: uses local coordinates on the provided X and Y axis to display the texture
- World Space: uses world coordinates on the provided X and Y axis to display the texture (useful for maintaining constant scale among many meshes)
- X Axis and Y Axis: Only visible when Mapping Space is not in UV mode. Allows to select which axis (X/Y/Z) to use for displaying the texture
- Albedo Scale: Used to brighten and darken the texture, as only one channel is available. Values below 0.5 - darken, and above 0.5 - lighten the original Albedo.
- Normal Scale: Controls the strength of the detail normal.
- Flip Y (UE Mode): Flips the Green channel of the detail normals. Allows the usage of DirectX normal maps, like the ones in the assets for Unreal Engine
- Smooth Scale: Allows to offset the smoothness using the details map. Values below 0.5 - make the surface more rough, above 0.5 - make it more smooth
Adding detail Normal and Albedo
VRChat Features
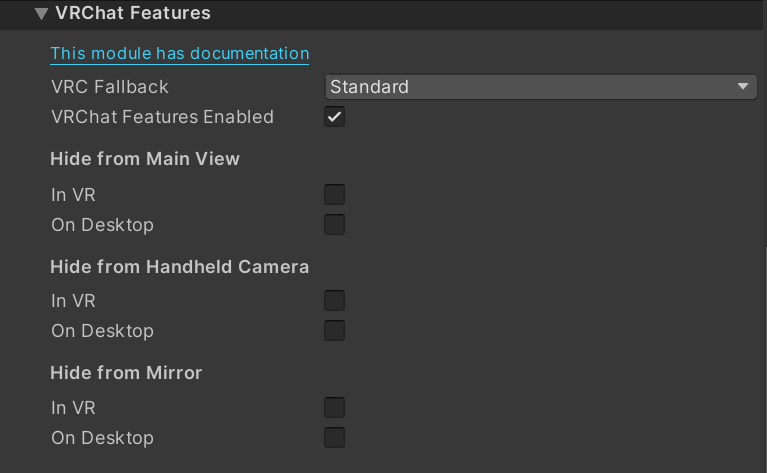 VRChat Features controls
- VRC Fallback: Sets the shader fallback mode as defined by the VRChat's Shader Fallback System
- Defaults to "Standard" which is the most fitting for the majority of shaders
- This option is available without needing to enable VRChat Features
- All of the available options are
- Standard
- Toon
- Hidden
- Transparent
- Cutout
- ToonCutout
- VRChat Features Enabled: Enables the VRChat features
- Hide from Main View: Controls whether the object should be hidden from the main player view
- In VR: Hides the object from the main player view in VR
- On Desktop: Hides the object from the main player view on Desktop
- Hide form Handheld Camera: Controls whether the object should be hidden from the handheld camera view
- In VR: Hides the object from the handheld camera view in VR
- On Desktop: Hides the object from the handheld camera view on the Desktop
- Hide from Mirror: Controls whether the object should be hidden from the mirror view
- In VR: Hides the object from the mirror view in VR
- On Desktop: Hides the object from the mirror view on Desktop
Advanced Features
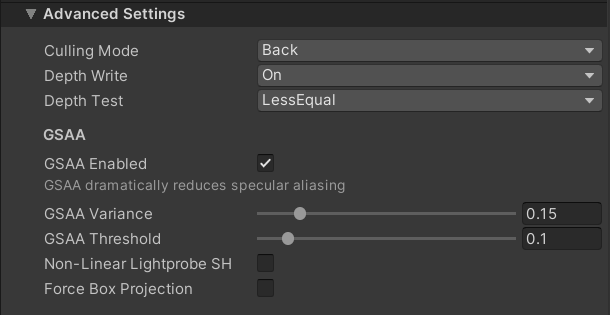
- Culling Mode: Controls the culling applied to the mesh
- Back: Culls visible backfaces
- Front: Culls visible frontfaces
- Off: Renders in double-sided mode
- Depth Write: Controls whether the object writes to depth
- On: Enables depth writing. As a rule of thumb - all opaque/cutout objects should write to depth
- Off: Disables depth writing, used for transparency
- Depth Test: Controls how the depth testing is performed, you generally never need to change this
GSAA
GSAA Example
GSAA, or Geometric Specular Anti Aliasing, helps avoid severe specular aliasing (often manifesting as "sparkles" visually) on metallic objects. It is enabled by default, as it is generally a very desirable effect
- GSAA Enabled: Toggles the effect
- GSAA Variance: Controls the change of the Normal direction required to be considered for GSAA filtering
- GSAA Threshold: Controls the cutoff of the variance which will be considered for GSAA filtering
Other Advanced Options
- Non-Linear Lightprobe SH: Enables higher quality lightprobe sampling which is more accurate and behaves much better in high-intensity lighting scenarios. Is recommended for use on PC platforms, but might be fairly expensive on mobile.
- Force Box Projection: Enables support for Box Projected reflection probes on platforms that do not support it natively, e.g. Android (Oculus Quest). This is fairly expensive for mobile hardware, so use it sparingly
Lightmapping
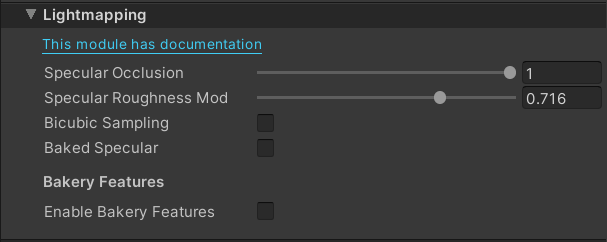
- Specular Occlusion: Controls the amount of Specular Occlusion applied to the material. This helps limit the amount of "unity shine" which is often present on metallic surfaces (see comparison below). This applies to both lightmapped and non-lightmapped objects
- Specular Roughness Mod: Allows you to influence the roughness of Baked Specular, which can sometimes be too intensive due to imperfections of Baked Specular direction
- Bicubic Sampling: Dramatically increases quality of the baked shadows, especially on the lower resolution lightmaps at a fairly small performance hit
- Baked Specular: Toggles the display of baked specular. Only relevant when using some kind of Directional lightmap, e.g., Dominant Direction or Bakery's RNM or SH.
- Enable Bakery Features: Allows usage of bakery-specific features like RNM, SH or MonoSH lightmaps
- Bakery Mode: Specifies whether to use RNM, SH or MonoSH lightmaps for Baked Specular
- Bakery Non-Linear SH: Enables the Non-Linear SH sampling that can improve the contrast of the lighting on the mesh, especially with high-frequency normal maps
Update Your Bakery
If you're not seeing MonoSH in your Directionality Mode dropdown when using bakery, you should update to the latest version! MonoSH is a new feature that was added in Bakery 1.9.0, it allows you to use a single directional lightmap to achieve a level of quality comparable to the old regular SH lightmaps (which used 3 separate textures) and it doesn't require any special adapters to work
Specular Occlusion in action
 Without Baked Specular
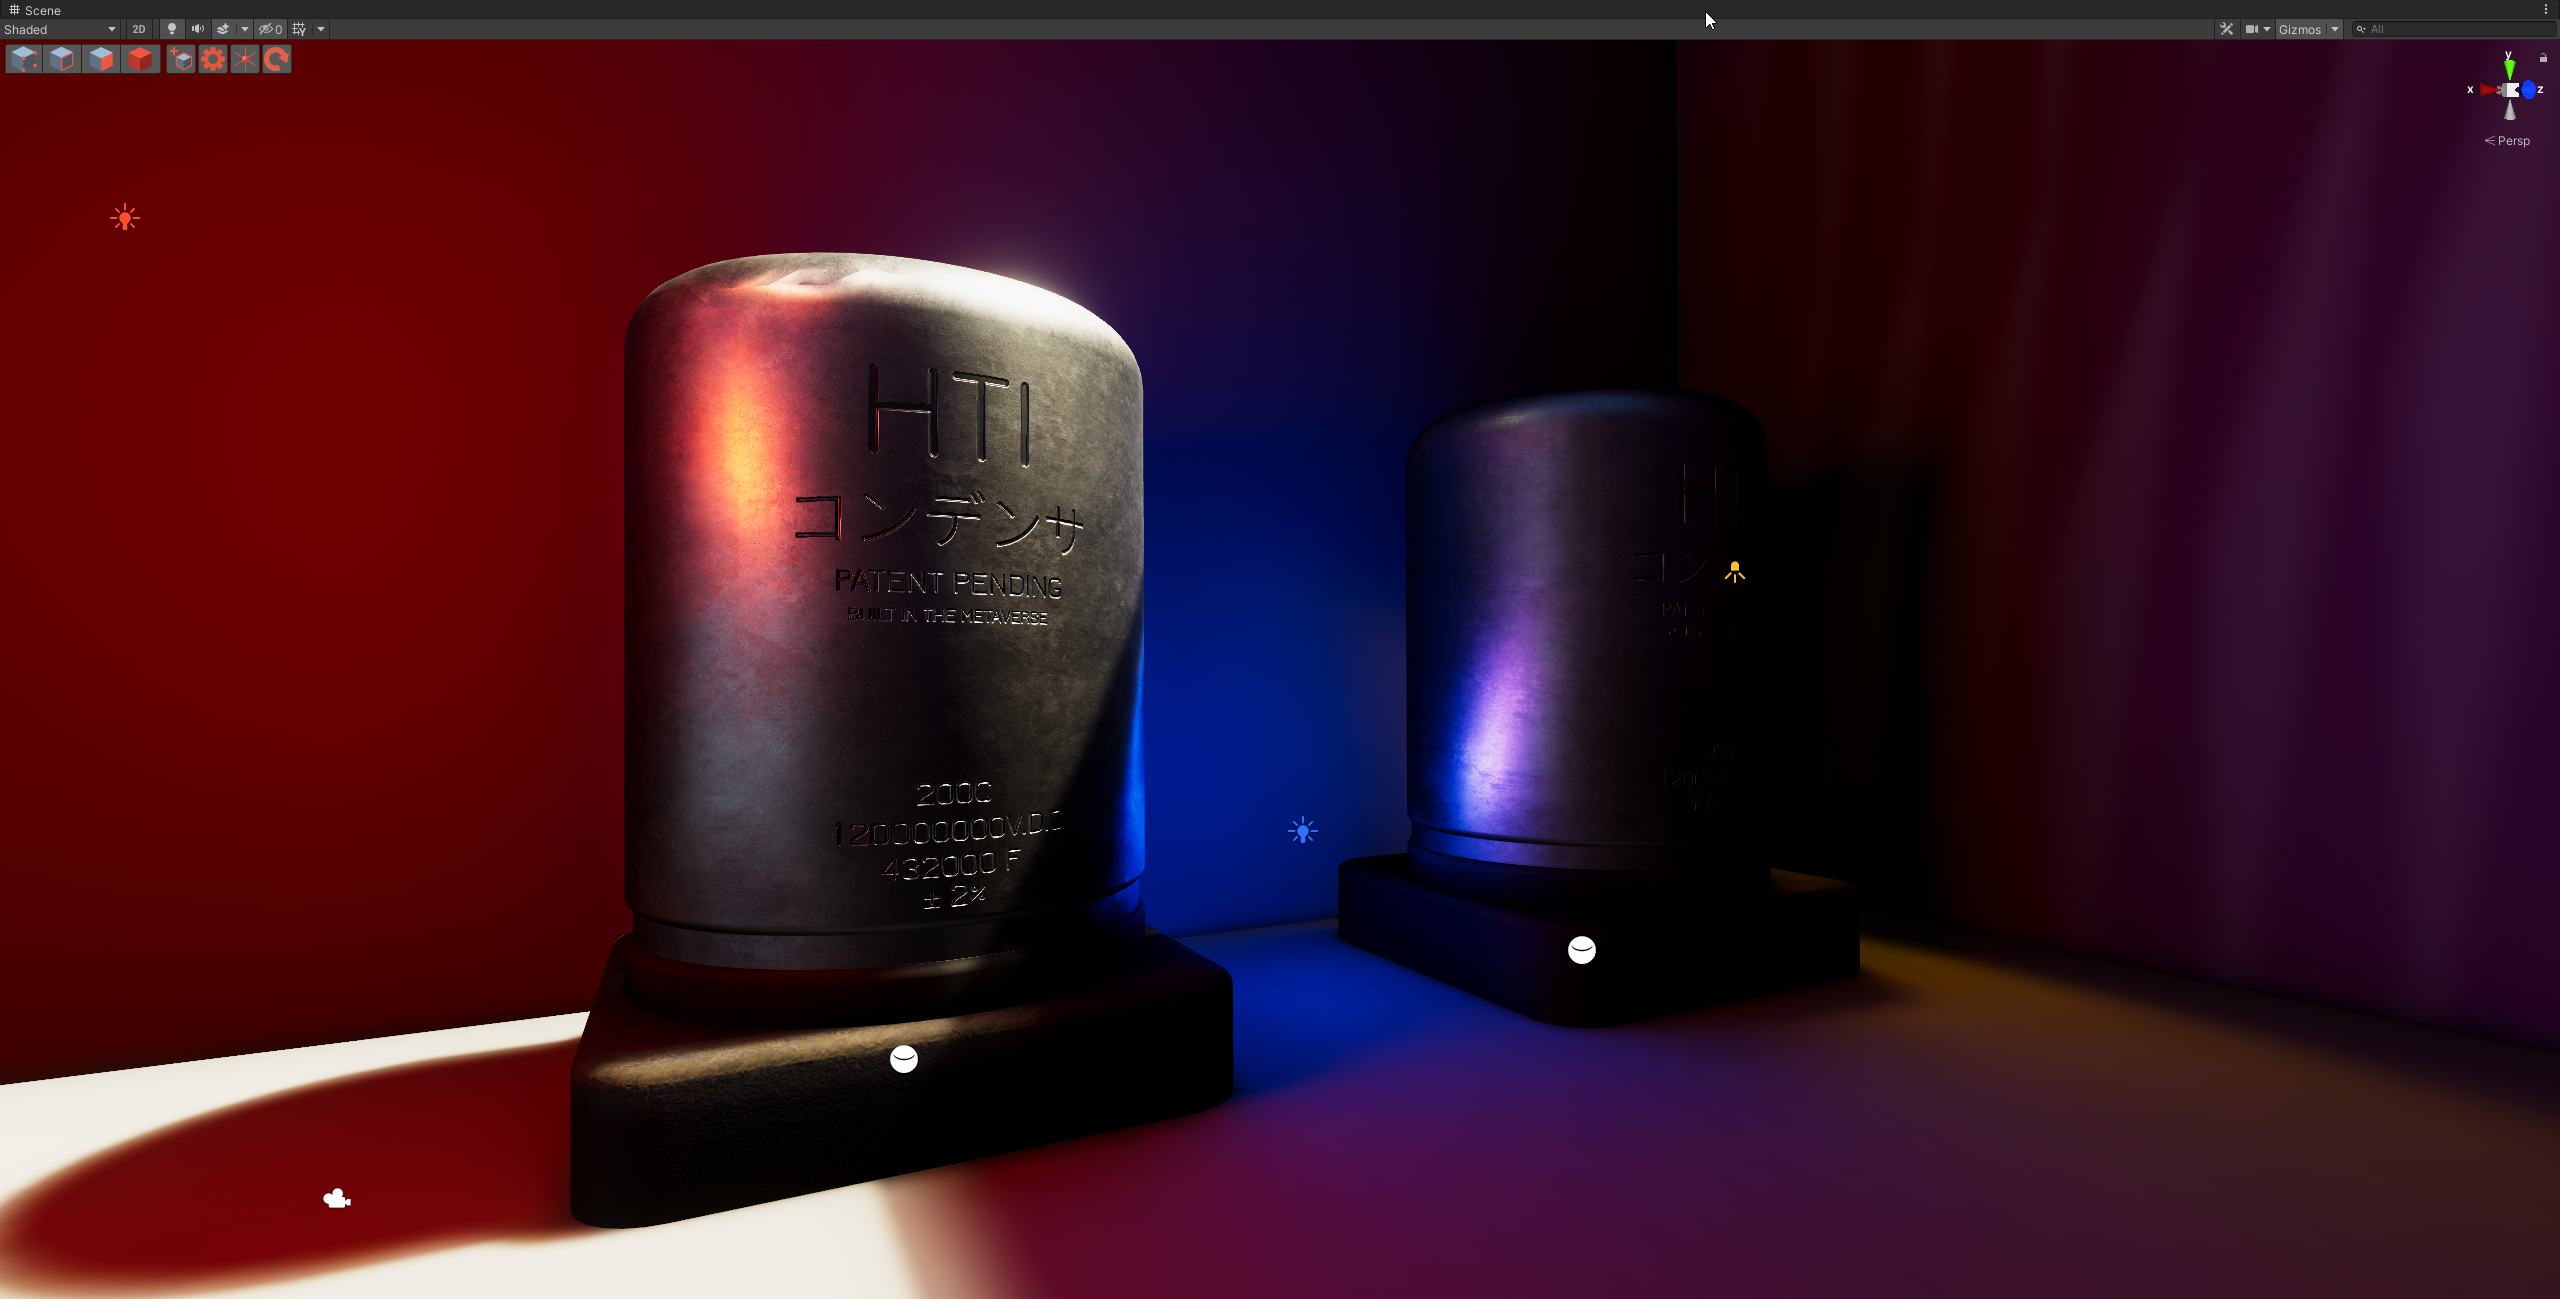 With Baked Specular
Internal
Debug Information
You do not have to adjust the settings shown in the Internal section, these are provided only for debugging
- DFG LUT: The DFG-multiscatter LUT texture used for the specular calculations
- RNM0/RNM1/RNM2: Bakery-specific texture slots for RNM and SH support
Cutout Variant
There is also a cutout variant of the Standard shader, which provides all the same features, but with support for regular and Alpha To Coverage cutout
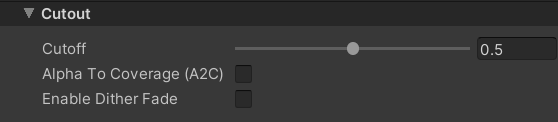
- Enable Dither Fade: Enables distance-based dither fade. Check out the Dither Fade documentation for more information
LOD Crossfade
To add LOD Crossfade - simply select the Cutout variant of any Standard shader. This allows you to fade out the object as it gets further away when combined with an LOD Group component. Read more here.
You can also add support for LOD Crossfade to any shader by utilizing Configurable Shaders and adding the LODCrossfade module.
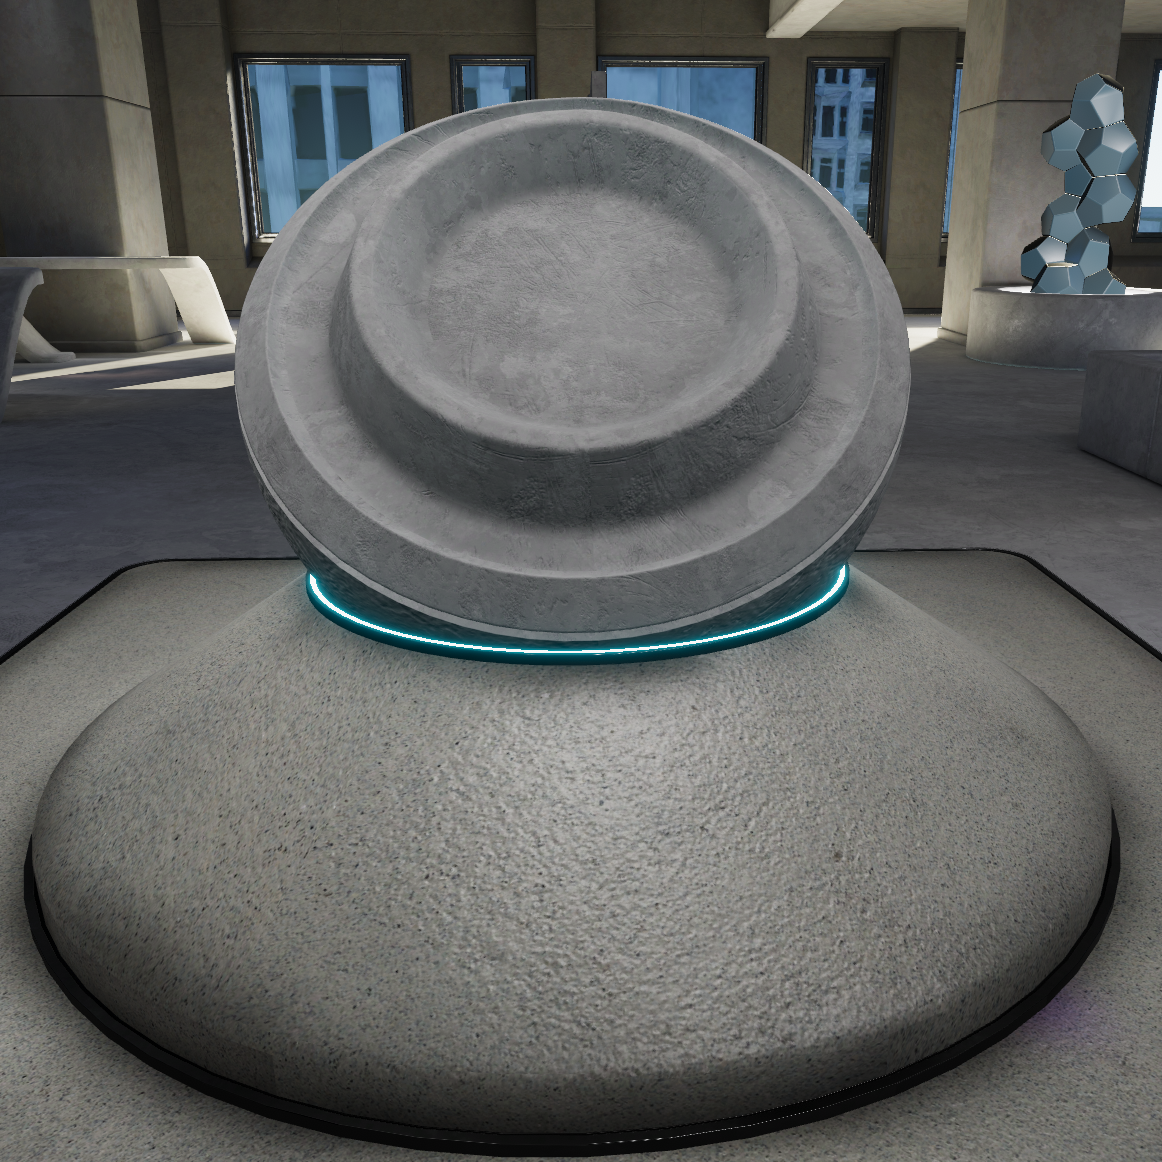
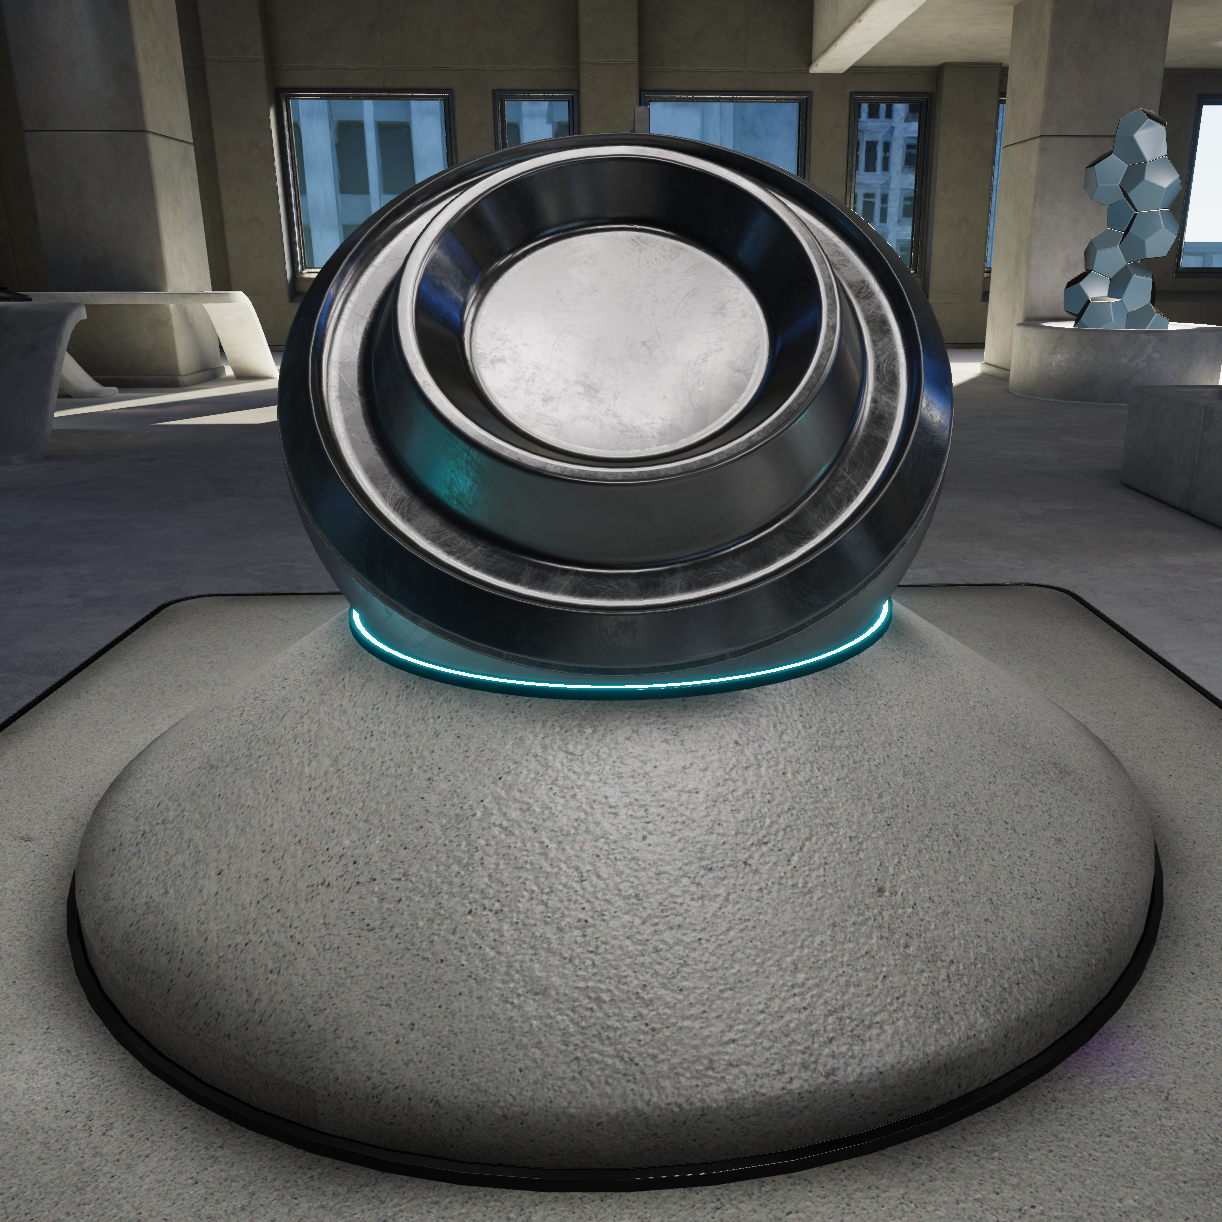
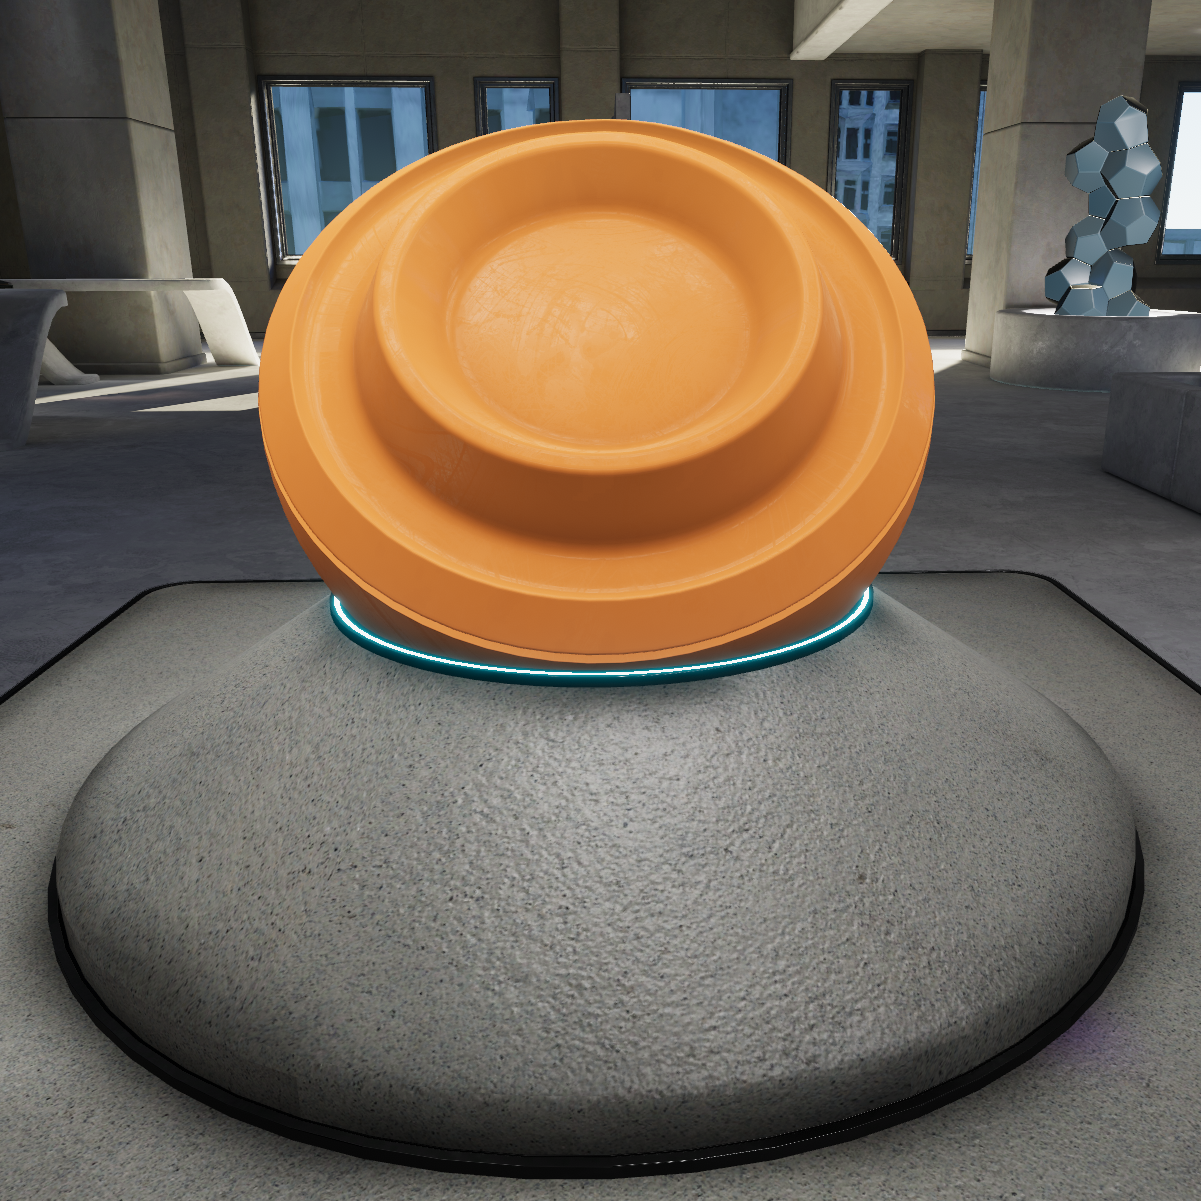
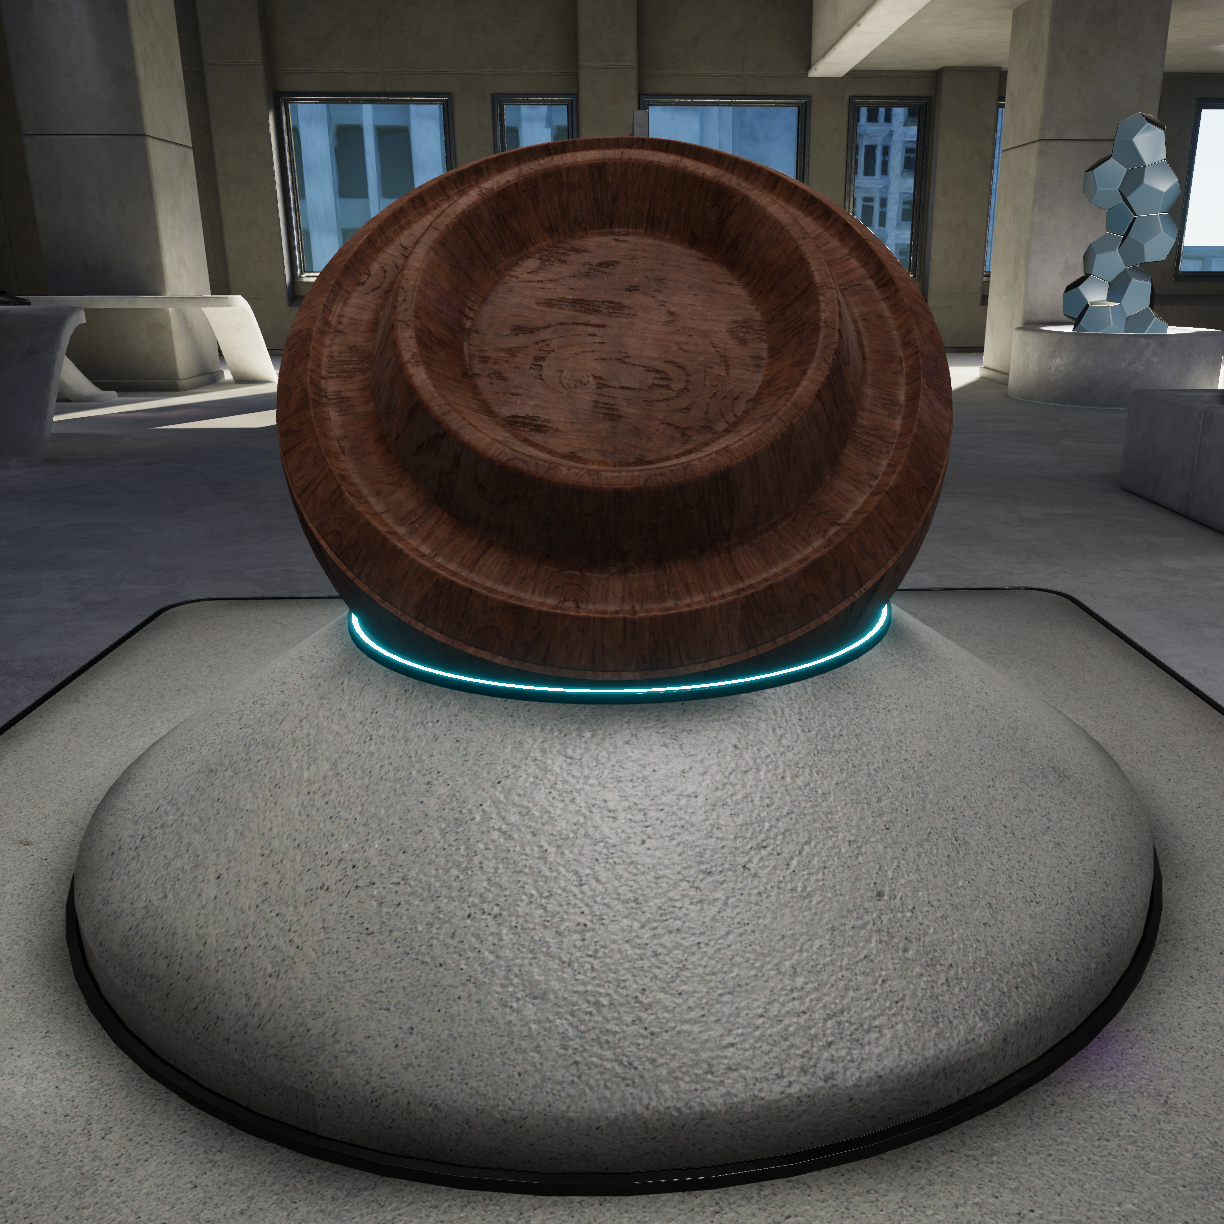
Examples
Here are some example material screenshots